DIY Immersion Chiller
Posted: Tue Aug 06, 2013 4:06 pm
One of the first things I needed when I moved to 5 gallon batches was a way to cool the wort to fermenting temps quickly. I'm a big DIY type guy, so rather than shell out the $ for a new wort chiller I decided to build one instead.
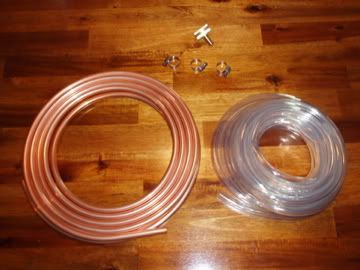
Parts:

3/8" OD copper coil (20 ft)
Small hose clamps (3)
Female hose adapter with 3/8" barb
3/8" ID vinyl tubing (12 ft, or whatever length you need)
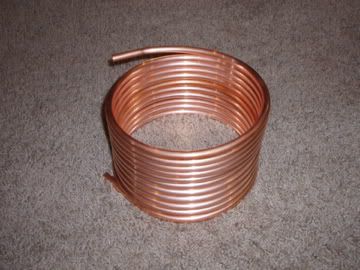
The first step was to form the main coil. Very easy since it already had a coil to it. I didn't have a tube bender, so i used an empty paint can and formed the tube around it. You want to go slow here as you do not want to kink the copper.

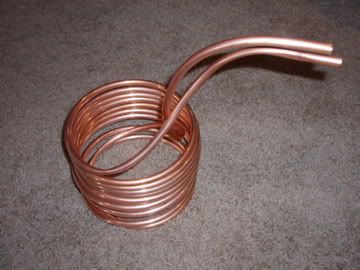
Next, I carefully bent the ends so they would come up and be outside the rim of the kettle.

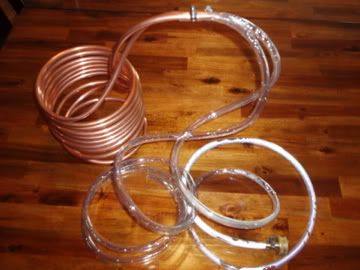
Then it was a simple matter of attaching the vinyl tubing to each end with the hose clamps. I got 1.5"-2" of the copper inside the vinyl tube.
The final step was to attach the hose barb to the other end of the "cold water in" tube. Make sure to slide the hose clamp on the tube first before you put the hose barb on. The final result looks something like this:

This little beauty cools 5ish gallons of boiling wort to 70 degrees in about 15-20 minutes. I built this 2 years ago, and it's still going strong. These run you ~$70 at the HBS or online. Total cost for mine with all parts from Lowes was about $35 IIRC. This was also a very quick and easy project to build. If I would do it again, I would get a tube bender so my final bends would be a little nicer, but that would add about $10 to the build...
Parts:

3/8" OD copper coil (20 ft)
Small hose clamps (3)
Female hose adapter with 3/8" barb
3/8" ID vinyl tubing (12 ft, or whatever length you need)
The first step was to form the main coil. Very easy since it already had a coil to it. I didn't have a tube bender, so i used an empty paint can and formed the tube around it. You want to go slow here as you do not want to kink the copper.

Next, I carefully bent the ends so they would come up and be outside the rim of the kettle.

Then it was a simple matter of attaching the vinyl tubing to each end with the hose clamps. I got 1.5"-2" of the copper inside the vinyl tube.
The final step was to attach the hose barb to the other end of the "cold water in" tube. Make sure to slide the hose clamp on the tube first before you put the hose barb on. The final result looks something like this:

This little beauty cools 5ish gallons of boiling wort to 70 degrees in about 15-20 minutes. I built this 2 years ago, and it's still going strong. These run you ~$70 at the HBS or online. Total cost for mine with all parts from Lowes was about $35 IIRC. This was also a very quick and easy project to build. If I would do it again, I would get a tube bender so my final bends would be a little nicer, but that would add about $10 to the build...