DIY Mash Tun
Posted: Thu Aug 08, 2013 11:45 am
I was having a hard time doing 5 gallon BIAB batches, so I decided to convert a cooler to a Mash Tun. I’d had this cooler for about 10-15 years or so. Picked it up at a garage sale and only used it a couple times. Now it gets to have a new purpose in life. My cooler was a bit different size wise from most of the instructions that I found online, so I had to use some different sized parts to make it work.
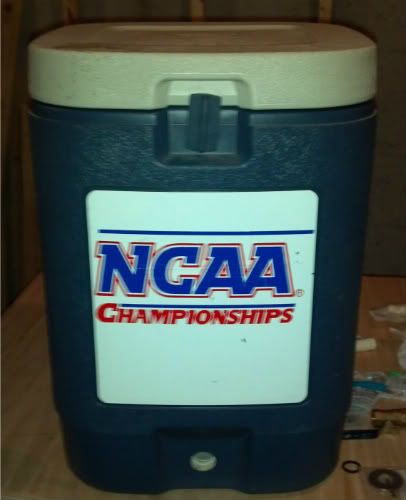
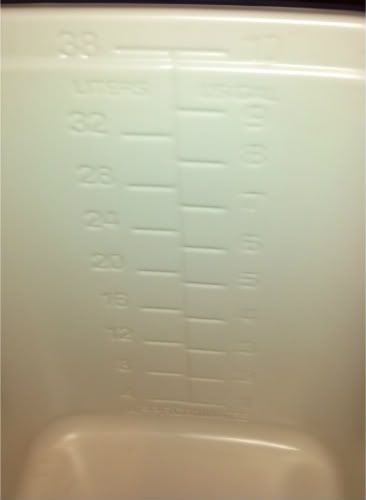
This is a 10 gallon Coleman cooler with markings on the inside for both gallons and liters. Lucky me!
Very easy to remove the spigot. Make sure you save the inner rubber gasket. You will need it to seal properly.
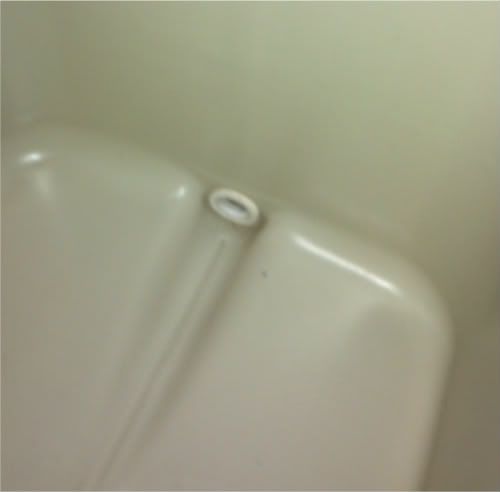
The size of the hole and thickness of the wall was a little bigger than I expected, so I had to return the 3/8” parts I was planning on using (from instructions on HBT), and get 1/2” parts. Here is the parts list I ended up with:
½” threaded ball valve
½” barb x ½” MIP hose adapter (2)
½” barb x ½” FIP hose adapter
½” MIP x 2” brass nipple
¾” fender washers (4)
¾” ID O-ring (4)
½” CPVC transition adapter
½” CPVC 90 degree elbow (4)
½” CPVC tee (3)
½” CPVC pipe
Teflon tape
First, I attached the ball valve to the 2” brass nipple, then one of the MIP hose adapters to the ball valve. Make sure to use Teflon tape on all the treaded joints to prevent leaking. After a few test fits through the cooler, I found that I needed 3 washers on the outside of the cooler for spacing.
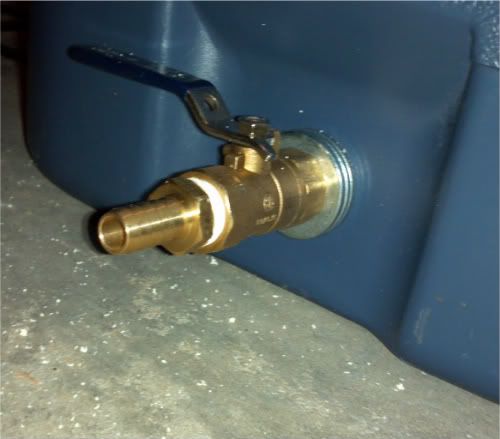
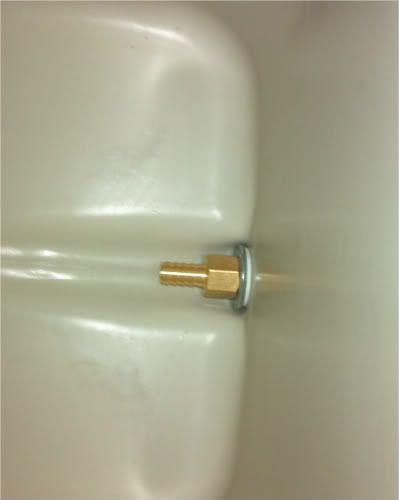
I ended up using 4 of the O-rings on the brass nipple between the inside and outside of the cooler. That gave me the best seal, but I’ve seen some use only one. Then I attached the FIP hose adapter to the inside end of the brass nipple using one washer and the original gasket from the cooler. Got it nice and tight and filled with a couple gallons of water to check for leaks. So far so good.
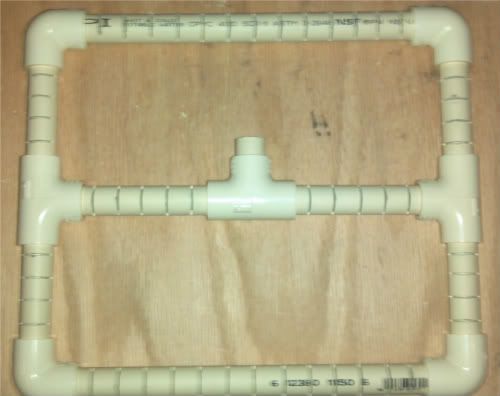
Now it was time to build the CPVC manifold. I sized it to fit about and inch from the sides, and drain from the center to help reduce any channeling of the wort down the sides of the cooler. I used a hack saw and miter box to cut the slots in the CPVC pipe, and the joints are all just slip fit so it can be taken apart for easy cleaning.
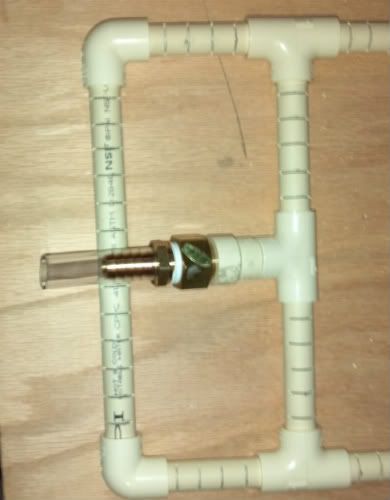
Then I attached the CPVC transition adapter to the center tee, and added the last MIP hose adapter. A short length of ½” ID hose connects the two hose adapters together.
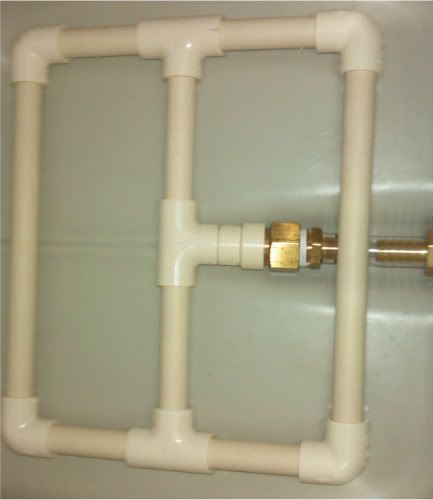
Time to test the full system. I filled it with 5 gallons of water, and let it sit for an hour.
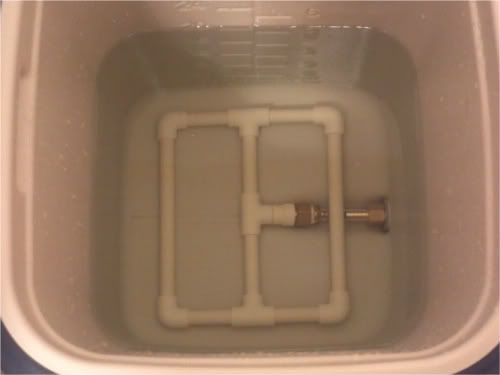
No leaks!! I drained the water though the manifold and ball valve, and that worked great. Looked like a good flow rate to me. After it drained, there was only 1 cup of water left in the cooler!
If you are thinking about making one of your own, go for it! You may need to adapt some of the parts for whatever cooler you have, and be a little creative on connecting the manifold, but it is a pretty straight forward project. This was a lot of fun to build, and it works great!

This is a 10 gallon Coleman cooler with markings on the inside for both gallons and liters. Lucky me!

Very easy to remove the spigot. Make sure you save the inner rubber gasket. You will need it to seal properly.

The size of the hole and thickness of the wall was a little bigger than I expected, so I had to return the 3/8” parts I was planning on using (from instructions on HBT), and get 1/2” parts. Here is the parts list I ended up with:
½” threaded ball valve
½” barb x ½” MIP hose adapter (2)
½” barb x ½” FIP hose adapter
½” MIP x 2” brass nipple
¾” fender washers (4)
¾” ID O-ring (4)
½” CPVC transition adapter
½” CPVC 90 degree elbow (4)
½” CPVC tee (3)
½” CPVC pipe
Teflon tape
First, I attached the ball valve to the 2” brass nipple, then one of the MIP hose adapters to the ball valve. Make sure to use Teflon tape on all the treaded joints to prevent leaking. After a few test fits through the cooler, I found that I needed 3 washers on the outside of the cooler for spacing.

I ended up using 4 of the O-rings on the brass nipple between the inside and outside of the cooler. That gave me the best seal, but I’ve seen some use only one. Then I attached the FIP hose adapter to the inside end of the brass nipple using one washer and the original gasket from the cooler. Got it nice and tight and filled with a couple gallons of water to check for leaks. So far so good.

Now it was time to build the CPVC manifold. I sized it to fit about and inch from the sides, and drain from the center to help reduce any channeling of the wort down the sides of the cooler. I used a hack saw and miter box to cut the slots in the CPVC pipe, and the joints are all just slip fit so it can be taken apart for easy cleaning.

Then I attached the CPVC transition adapter to the center tee, and added the last MIP hose adapter. A short length of ½” ID hose connects the two hose adapters together.


Time to test the full system. I filled it with 5 gallons of water, and let it sit for an hour.

No leaks!! I drained the water though the manifold and ball valve, and that worked great. Looked like a good flow rate to me. After it drained, there was only 1 cup of water left in the cooler!
If you are thinking about making one of your own, go for it! You may need to adapt some of the parts for whatever cooler you have, and be a little creative on connecting the manifold, but it is a pretty straight forward project. This was a lot of fun to build, and it works great!